How-To: Restoring yellowed soles with Sea Glow
Posted: Thu Jan 13, 2011 4:40 pm
So I just wanted to show you guys the outcome of my sole restoration job. As you all know, the soles on my Jason Jessee 003 Syndicate Sk8-Hi's were appearing to be way beyond repair, and why in the hell would anyone pay for a DS pair of half yellowed shoes?!? Well, I had faith in Sea Glow, and I admit there was a little bit of second guessing about it, after purchasing them! Ok, there was a LOT of second guessing! Well, I can rest better now, knowing these are now wearable, and people won't know the difference after a few wears, and both get a little dirty. I used the legendary Sea Glow conditioner, which I am now a firm believer in as well, and I would even dare to say that it works better on Vans, than Jordans, and other Nikes! A lot of us have older pairs of Vans that are yellowing where the glue wasn't wiped away during production, and I guarantee this stuff will clear it all up. I don't have any pictures of the application process, but it's as easy as squirting the Sea Glow onto your paint brush, and wiping it on the rubber soles!
Materials:
Sea Glow 4oz. w/ scotch-brite pad found here: http://islandgirlshop.enstore.com/item/ ... going-fast
Blue painters tape (less sticky)
Paintbrush (1/2" wide or so)
Latex gloves
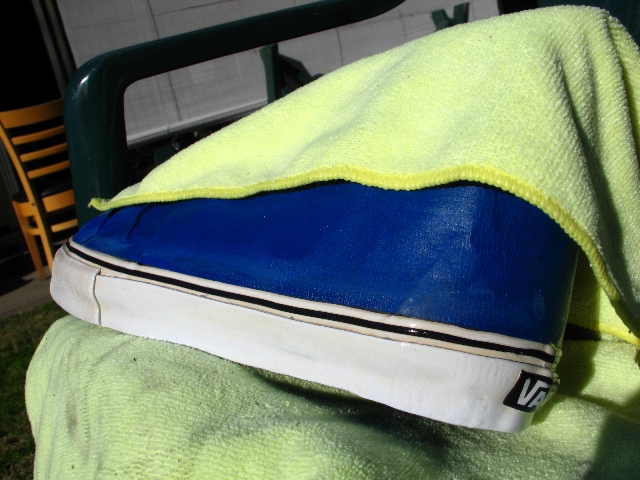
Yellow microfiber towels (to rest it on and reflect the sun)
Wet paper towels (for wiping away Sea Glow when done)
Step 1:
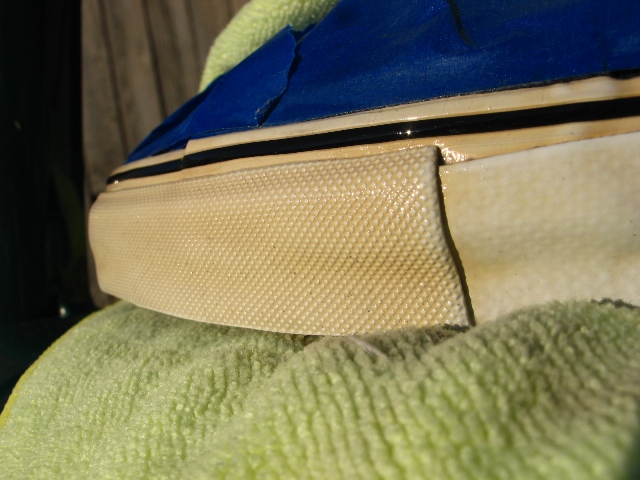
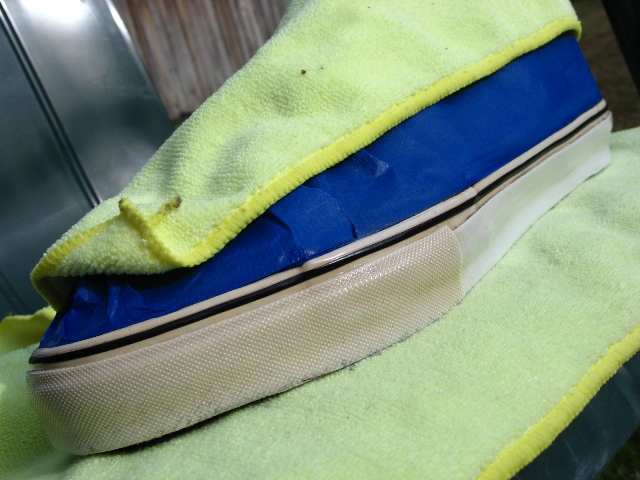
Mask off the shoes. This is tricky if you don't know how to do this sort of thing. I've worked on cars for years, and I can do this with no sweat, but pretty much just get the edge of the tape up to the edge of the rubber.
Examples:
Step 2.
Clean your shoes of any dirt and crap. The Sea Glow needs to penetrate the rubber. If there is a lot of oxidation already, use the scotch-brite pad that was included with the pack, along with some Sea Glow to act as a detergent. Scrub it in, and you'll see the liquid turning milky. This is the surface oxidation being removed. You may need to repeat this process later on after a few treatments, when you see unevenness. Wipe away the milky Sea Glow with a dry paper towel, and clean up any mess. Then apply the Sea Glow again, and put it on pretty good. Make it all glossy, and wet. It doesn't run very much. It almost has the consistency of shampoo, maybe a little more thinner.
Step 3.
Keep applying until you see your desired results.
Step 4.
Take your wet paper towels and wipe away the Sea Glow. You may need to use 2 or 3 wet towels, because this stuff is a little sticky after working it's magic! According to the makers of Sea Glow, this stuff still keeps working even after removal, because of what's already seeped into the rubber. That's pretty much it.
Here's some pics at different stages of the restoration process:
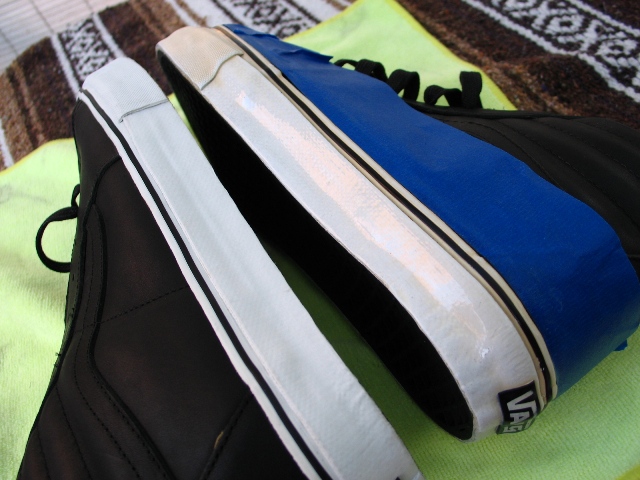
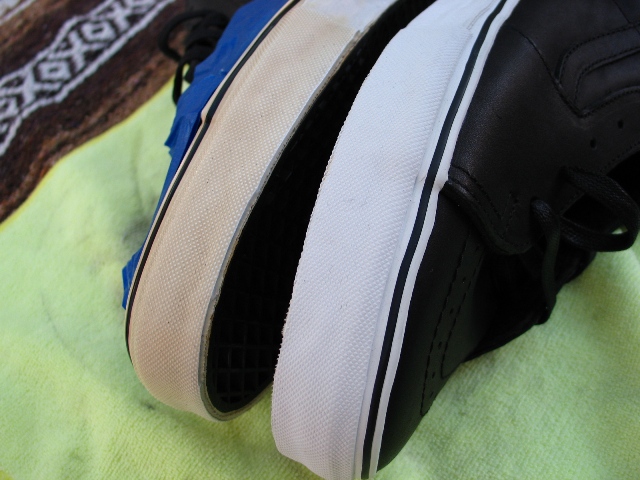
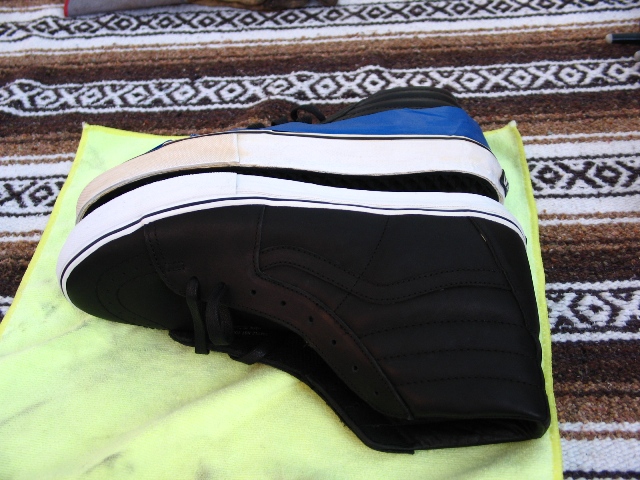
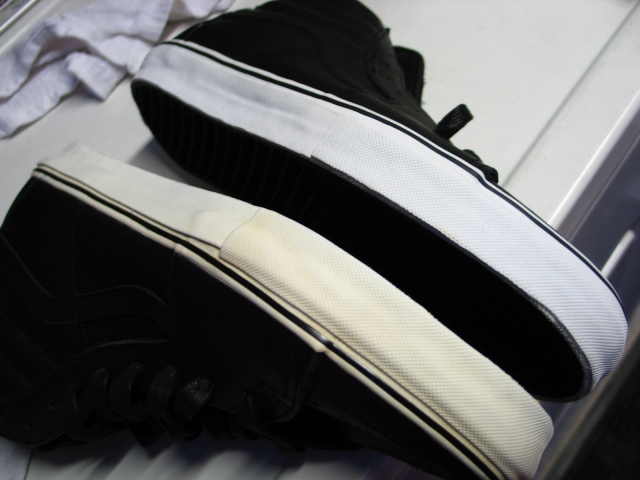
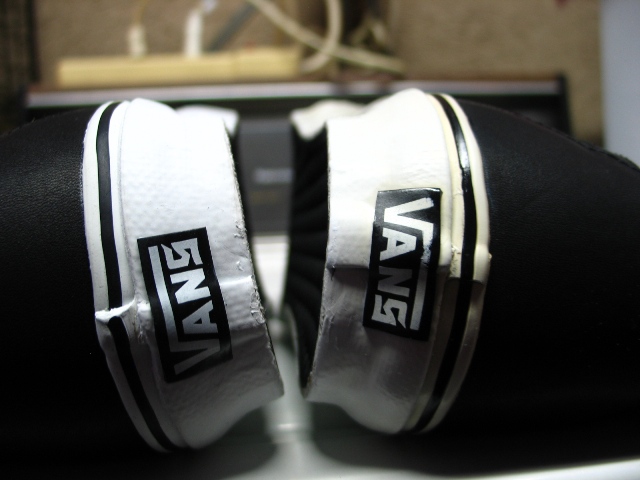
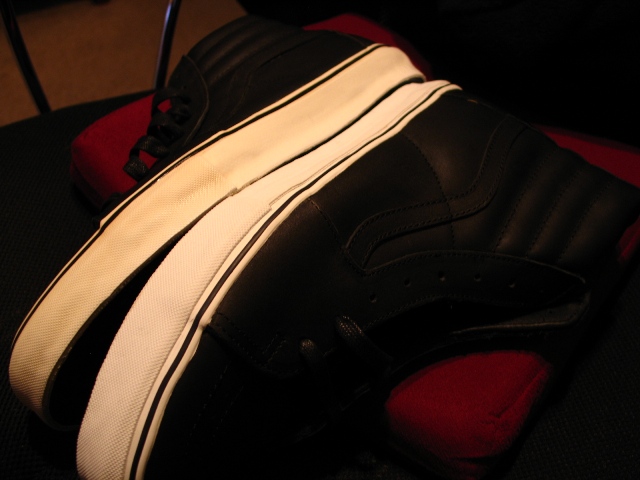
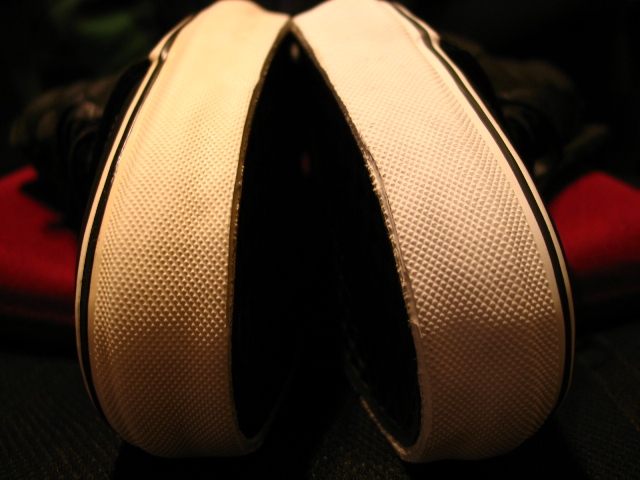
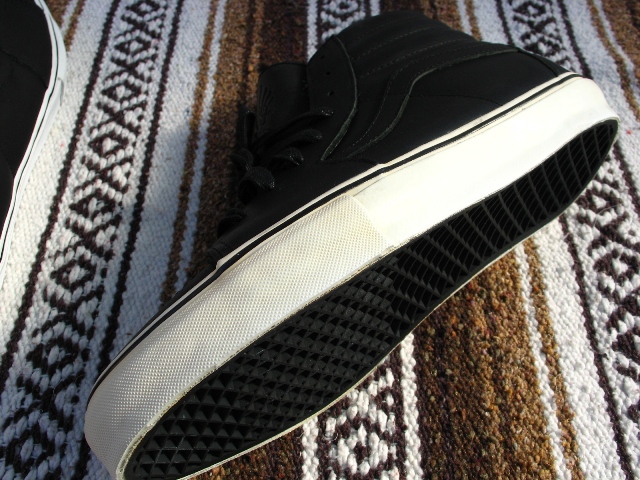
These are before the start of the Sea Glow treatment. These have only been cleaned with Jason Markk, which already took a lot of the surface oxidation away.
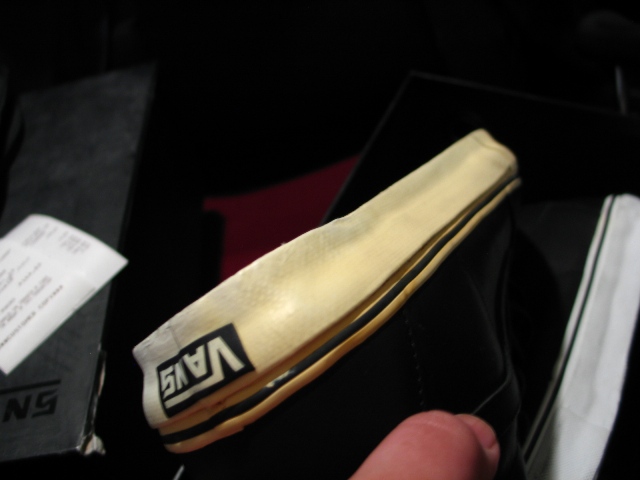
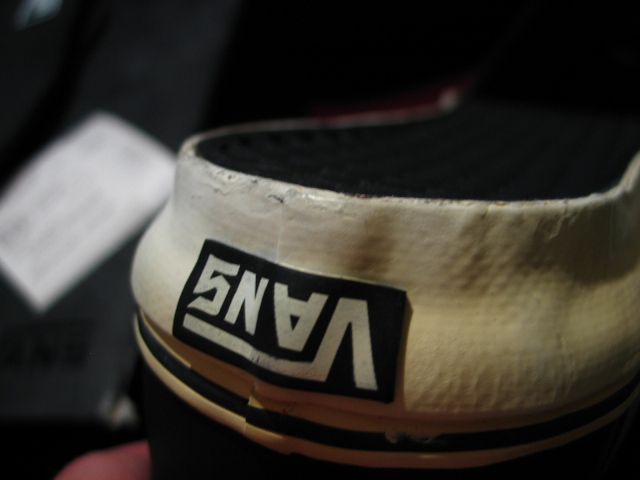
with flash:
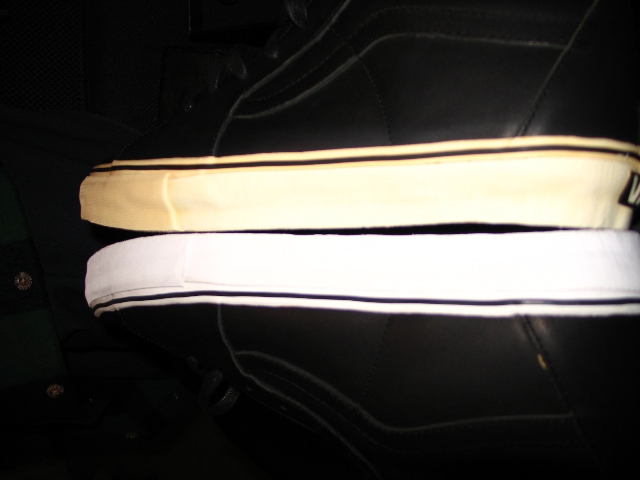
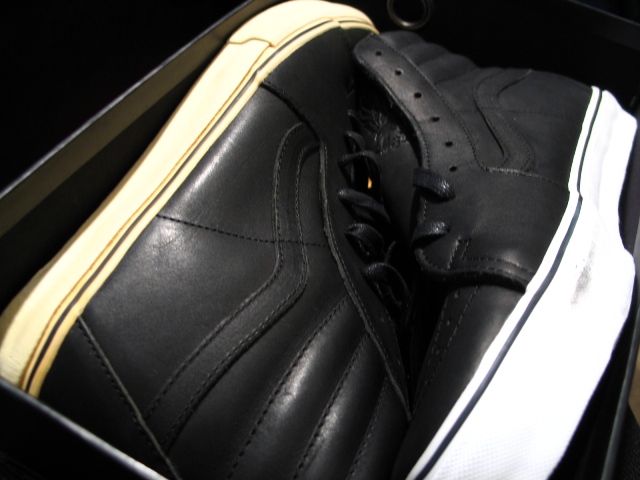
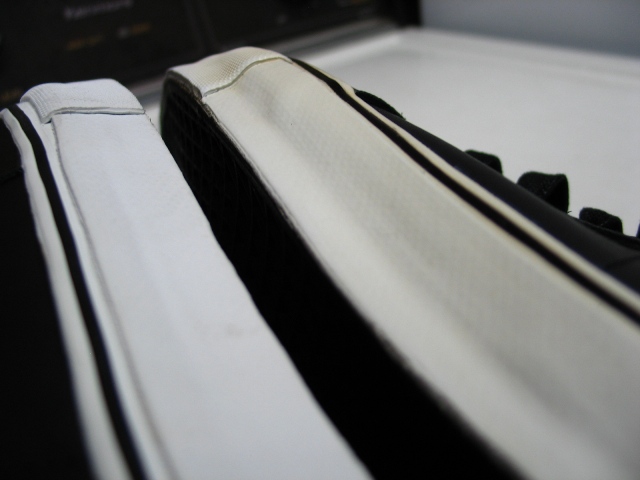
Here's day one of Sea Glow:
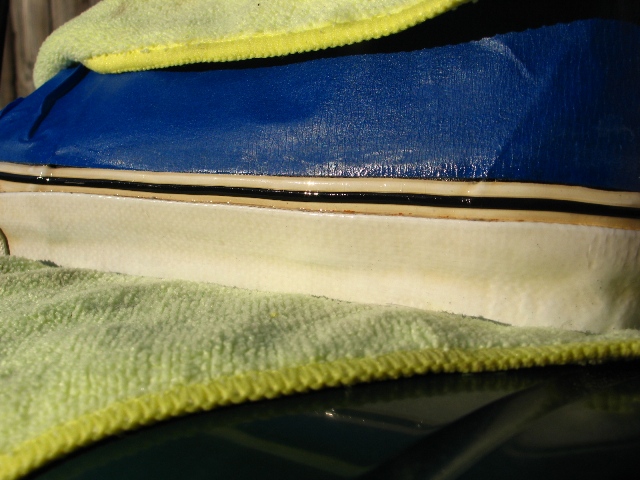

End of day one (in the patio):
Day 2 (too many clouds, not much improvement):
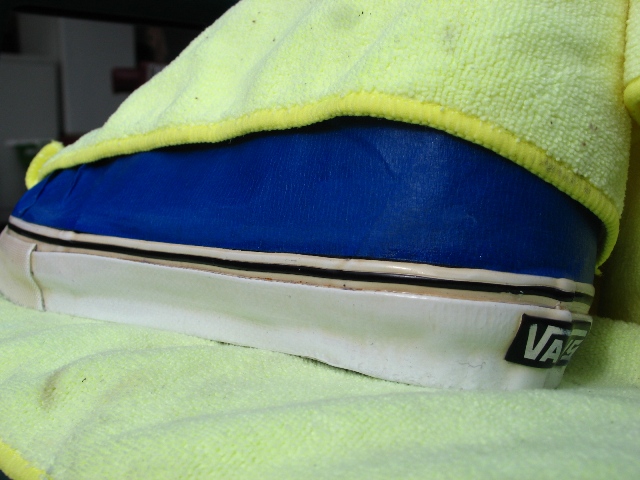
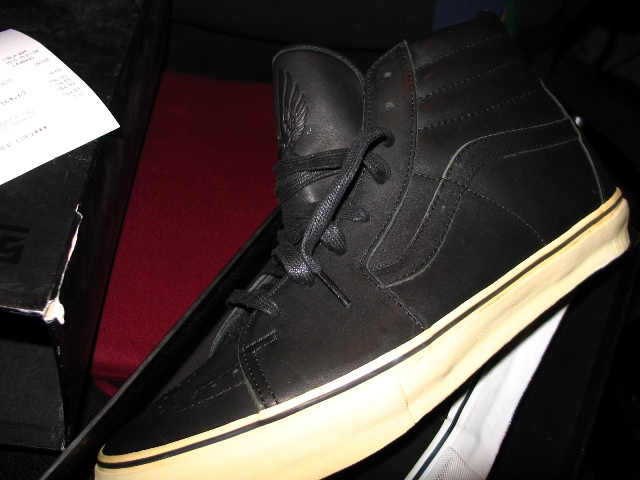
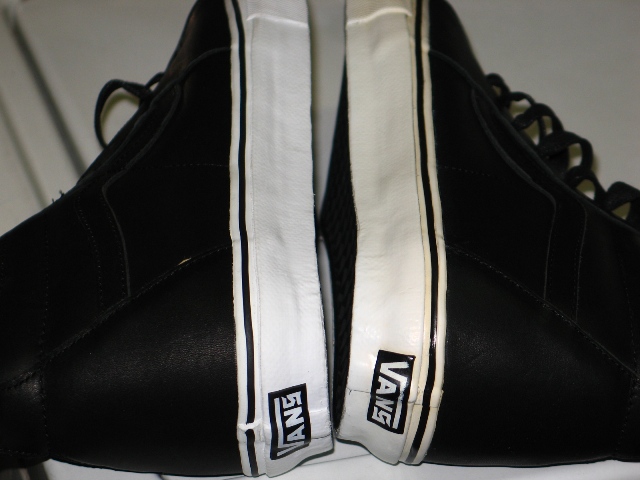
Day 3 last day:
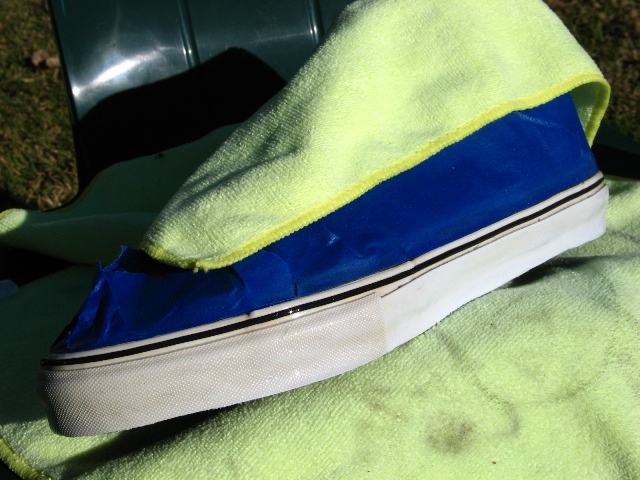
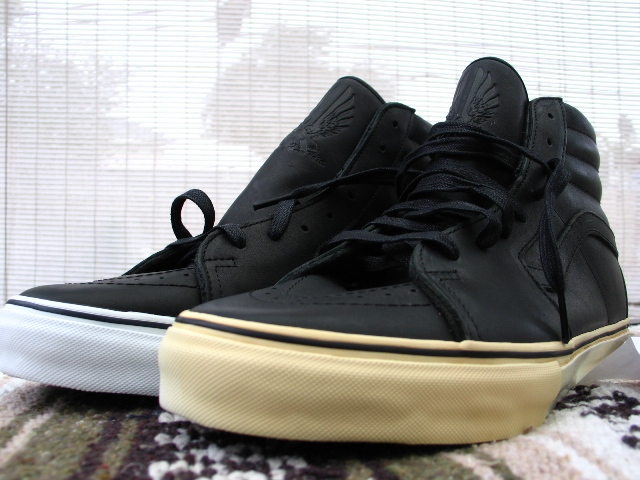
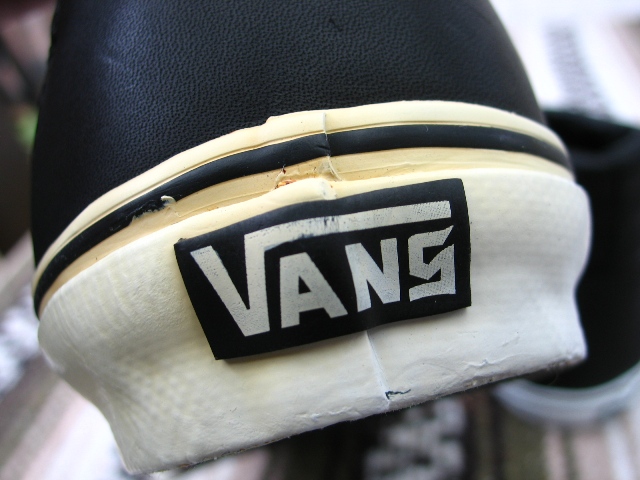
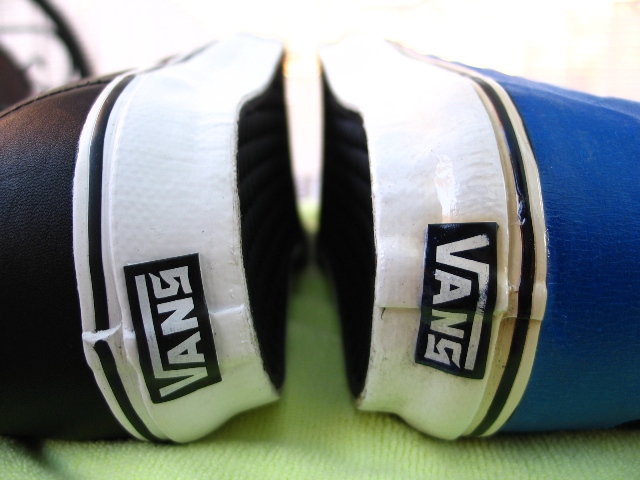
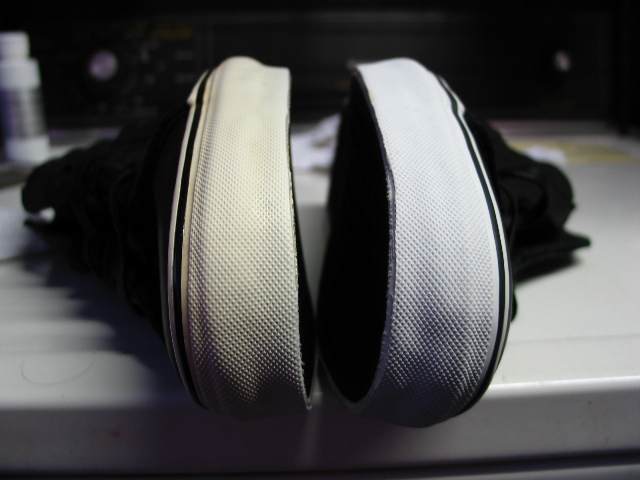
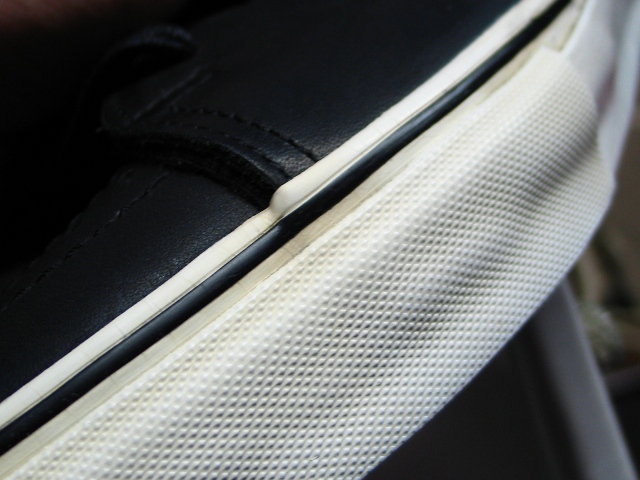
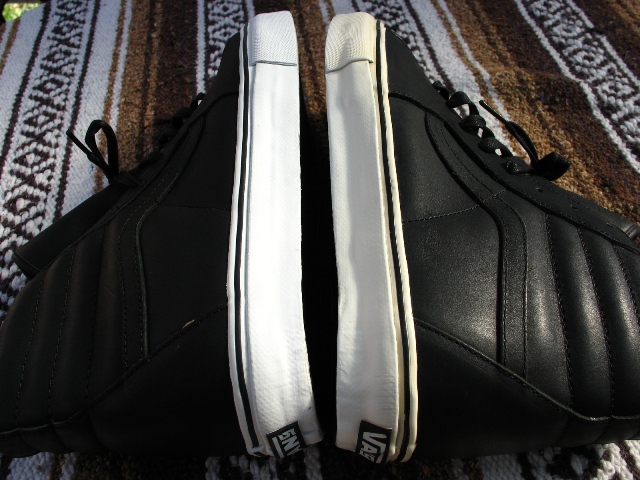
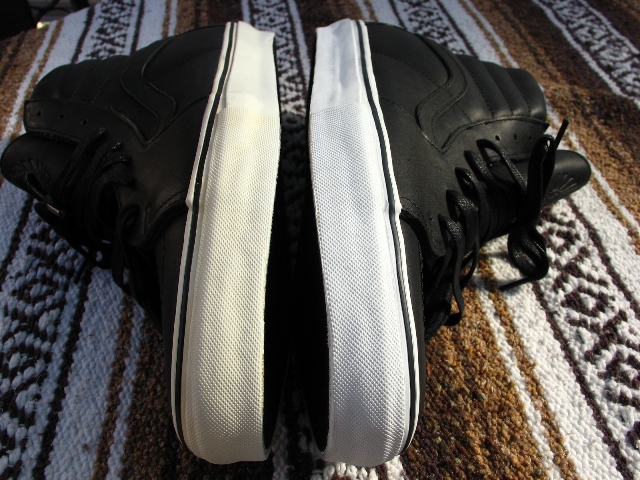
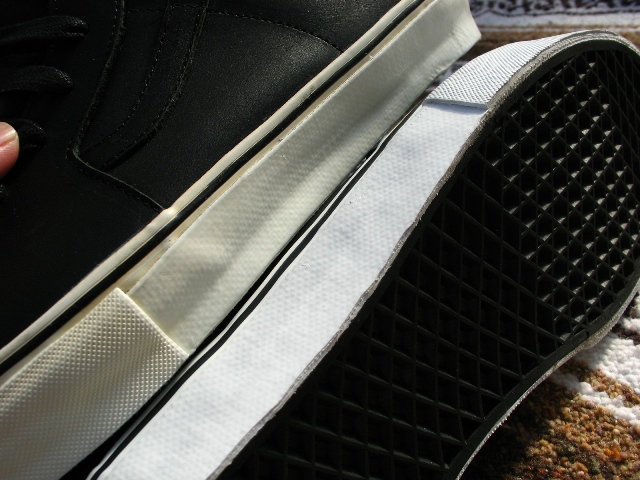
All cleaned up at the end of day 3. Notice the different shades each lighting type gives off:
Fluorescent lighting shots:
Inside tungsten standard lighting:
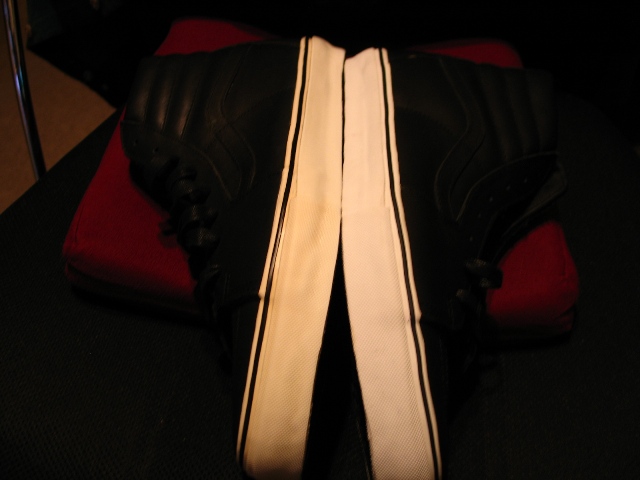
Outdoor natural light:
Materials:
Sea Glow 4oz. w/ scotch-brite pad found here: http://islandgirlshop.enstore.com/item/ ... going-fast
Blue painters tape (less sticky)
Paintbrush (1/2" wide or so)
Latex gloves
Yellow microfiber towels (to rest it on and reflect the sun)
Wet paper towels (for wiping away Sea Glow when done)
Step 1:
Mask off the shoes. This is tricky if you don't know how to do this sort of thing. I've worked on cars for years, and I can do this with no sweat, but pretty much just get the edge of the tape up to the edge of the rubber.
Examples:
Step 2.
Clean your shoes of any dirt and crap. The Sea Glow needs to penetrate the rubber. If there is a lot of oxidation already, use the scotch-brite pad that was included with the pack, along with some Sea Glow to act as a detergent. Scrub it in, and you'll see the liquid turning milky. This is the surface oxidation being removed. You may need to repeat this process later on after a few treatments, when you see unevenness. Wipe away the milky Sea Glow with a dry paper towel, and clean up any mess. Then apply the Sea Glow again, and put it on pretty good. Make it all glossy, and wet. It doesn't run very much. It almost has the consistency of shampoo, maybe a little more thinner.
Step 3.
Keep applying until you see your desired results.
Step 4.
Take your wet paper towels and wipe away the Sea Glow. You may need to use 2 or 3 wet towels, because this stuff is a little sticky after working it's magic! According to the makers of Sea Glow, this stuff still keeps working even after removal, because of what's already seeped into the rubber. That's pretty much it.
Here's some pics at different stages of the restoration process:
These are before the start of the Sea Glow treatment. These have only been cleaned with Jason Markk, which already took a lot of the surface oxidation away.
with flash:
Here's day one of Sea Glow:
End of day one (in the patio):
Day 2 (too many clouds, not much improvement):
Day 3 last day:
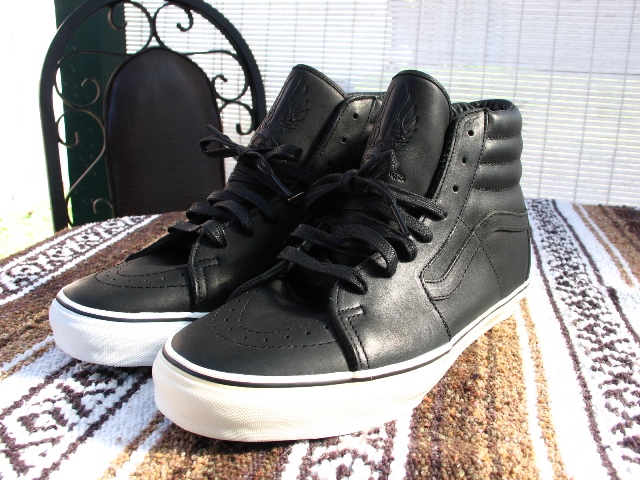
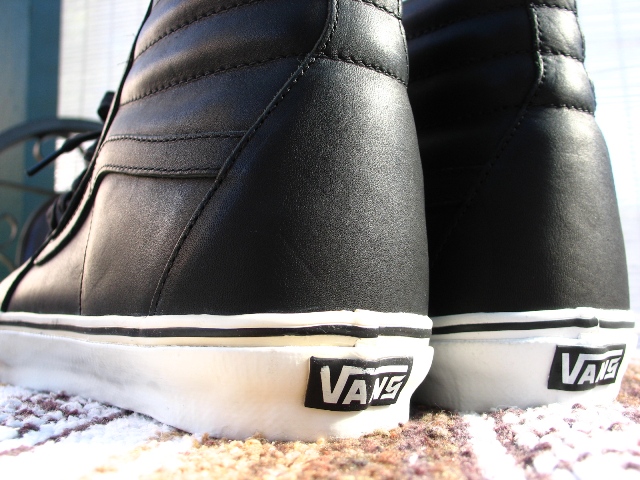
All cleaned up at the end of day 3. Notice the different shades each lighting type gives off:
Fluorescent lighting shots:
Inside tungsten standard lighting:
Outdoor natural light: